The Installation Process Of
Epoxy Flooring
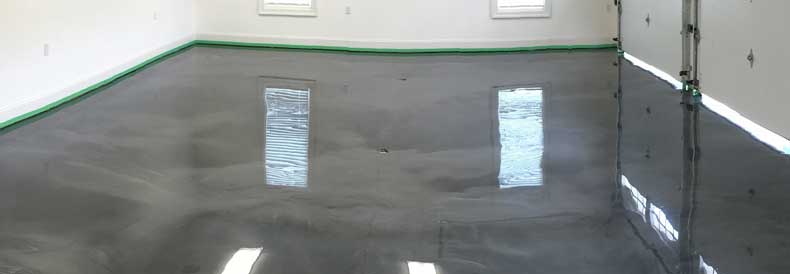
One of the most interesting processes in the entire world of flooring construction is the preparation and installation of epoxy flooring. It is always recommended that you only use professional assistance when working with this type of flooring as it is a very meticulous process that needs to be done to perfection if you want the flooring to perform the best it can. Today we are going to take a deeper look into what the pros do when preparing and installing epoxy flooring system! Let us get started!
Repairing Your Concrete
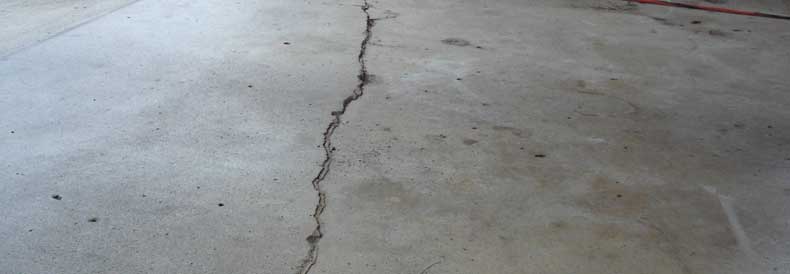
The first step of any flooring installation is the preparation of the concrete slab that will be supporting it. It just so happens that epoxy flooring uses one of the most intense processes out of any type of flooring available on the market today. The first step of preparation consists of repairing all imperfections that are found on the concrete slab. These imperfections consist of minor cracks, gouges and of course stains. There is a special epoxy crack filler that is used to fill all cracks and gouges while there is a specially formulated powder applied to the stains which will lift them. After all of the repairs have been made, the next process of profiling the concrete slab can begin.
Sand it down!
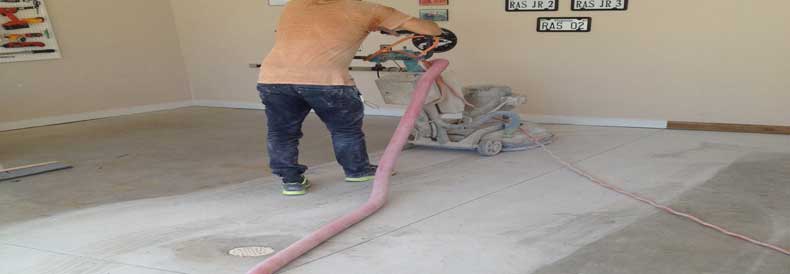
The next process is one of the most important as it will determine how well the epoxy resin is going to bond to the concrete slab. The process of profiling can be done either one of two ways, the first way is with a grinder equipped with a diamond wheel blade to shave back a layer of the concrete slab. This will open the pores of the concrete slab allowing for the epoxy resin to absorb into the concrete slab for a superior bond. The alternative and less common method of profiling the concrete slab is done with a shot blaster that profiles the concrete slab but with lower efficiency than a diamond wheel grinder. Never allow a contractor who states that acid washing the concrete slab is adequate for high-performance epoxy flooring, there is room for error with this technique.
Inspect your work
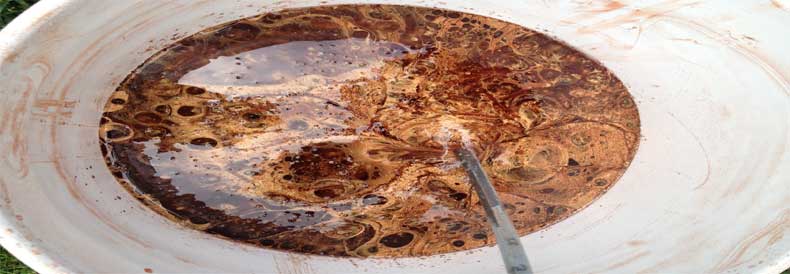
After the profiling process has been completed on the entire concrete slab, quick cleaning, inspection, and a moisture check are completed as the fun is about to begin. When inspection and cleaning are completed, the process of installation is ready to begin! The first step of installation begins with a coat of epoxy primer which will increase the strength of the bond formed between the epoxy resin and concrete slab.
Applying The Coating
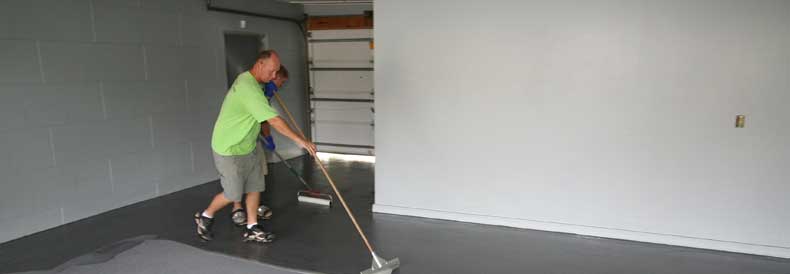
While the epoxy primer is drying, the epoxy resin is mixed with the urethane hardener in five-gallon buckets so as soon as the epoxy primer has dried, installation of the epoxy flooring system can be installed ASAP. There is a time limit on each bucket of epoxy, so there is usually 2 people mixing and 2 people using squeegees or epoxy trowels to install the epoxy flooring. There is a base coat of at least 4 coats of epoxy before customization can really begin. On the third or fourth coat of epoxy is where the metallic pigments, flakes or logos are placed into the epoxy flooring. After the epoxy flooring has cured for some time, the final top coat is placed as a sealer on the epoxy flooring system. After the flooring system has cured for 72 hours, the epoxy flooring system is ready for full usage!
